Accommodation
Camping accommodation is fundamentally different from any other form of lodging: you are not buying a room, you are building one. Every element — the ground you choose, the tent you pitch, the way you ventilate it, the sleep system inside it — contributes to a shelter that exists for a single night. This guide brings together the essential knowledge that turns a patch of ground into a safe, dry and genuinely restful place to sleep, whether you are wild camping for one night or staying on a busy site.
What Camping Accommodation Really Means
When most people think of accommodation, they picture walls and a roof. In camping terms, accommodation is a system: shelter, sleep insulation, and location working together. A top-of-the-range tent pitched in a hollow that floods overnight is worse accommodation than a basic tent pitched correctly on a gentle rise. Understanding these connections is the foundation of everything that follows.
Think of it like cooking: the best ingredients cannot save a dish if the basics — heat control and timing — are wrong. The same logic applies to a night outdoors.
Choosing a Site: The First 15 Minutes Matter Most
Site selection is the single highest-impact decision of the entire night. No amount of pitching skill can compensate for a dangerous or unsuitable location.
The Safety Checklist
Before unpacking anything, run a quick assessment. A systematic scan takes less than 15 minutes and covers most risks:
- Overhead hazards: dead branches, unstable trees and rockfall zones are responsible for serious injuries during night-time windstorms. Look up before you look anywhere else.
- Ground quality: check for compaction, slope, stones and roots. A simple five-minute test — pressing your trekking pole or a tent peg into the soil — tells you far more than appearances.
- Drainage: avoid depressions, dry riverbeds and the base of slopes. Water follows the path of least resistance, and in rain, that path can run straight through your tent floor.
- Exposure: an exposed ridge offers views but multiplies wind loads; a sheltered spot behind natural windbreaks reduces stress on your pitch by a significant margin.
The Factors Beginners Underestimate
Two considerations matter more than comfort for new campers:
- Phone signal: in remote areas, the ability to call for help or check an incoming weather front outweighs a slightly softer patch of ground. Signal coverage is a safety feature, not a luxury.
- The walk-away rule: if a site feels wrong — unstable ground, rising wind, poor visibility of escape routes — leaving is a valid decision, even when exhausted. Fatigue narrows judgement; trust the checklist instead.
Leave No Trace in One Night
Wild camping accommodation carries an obligation: the site should look untouched when you leave. In practice this means pitching on durable ground, packing out everything you brought in, avoiding open fires on fragile soil, and staying only the minimum time needed. One night, no trace — that is the standard.
Pitching Your Tent: Where Most Failures Happen
Surveys of camper complaints suggest that a large majority of « my tent leaked » reports trace back to setup errors, not faulty fabric. The tent is rarely the problem; the pitch is.
Timing and Conditions
Estimate how long your tent takes to pitch — properly, with guy lines set — and work backwards from sunset or from the arrival of forecast wind. Pitching in failing light or rising wind leads to rushed, half-finished setups that fail at 2 a.m.
Wind and Rain Resistance
A weatherproof pitch rests on three pillars:
- Orientation: place the narrowest side of the tent into the prevailing wind.
- Guy lines: adjust them taut and at the correct angle — they are not decoration but structural members that stabilise the flysheet in gusts.
- Pegging: standard pegs fail in a majority of challenging ground types (sandy, rocky or very soft soil). Match peg type to ground: wider stakes for soft soil, rock pegs or deadman anchors for hard terrain.
One frequent mistake deserves special mention: pitching the inner tent directly against wet ground or skipping the footprint, which wicks moisture upward and mimics a leak. This single setup error explains most damp-night complaints.
Condensation: The Invisible Enemy of a Dry Night
Even in warm coastal summer conditions, campers regularly wake damp — and the culprit is not rain but physics.
Why Double-Wall Tents Stay Dry
A double-wall tent separates the breathable inner canopy from the waterproof outer flysheet. Your breath releases roughly a litre of water vapour overnight; in a double-wall system this vapour passes through the inner wall and condenses on the cold flysheet, outside your living space. A single-wall design collects that moisture inside, where it drips onto your sleeping bag.
Ventilation Is a Skill, Not an Afterthought
Correct vent management is where theory meets practice:
- Adjust vents on double-wall tents to create continuous airflow — cross-ventilation beats a single open point.
- Never fully zip a tent shut. A sealed tent causes CO2 buildup and headaches, and paradoxically makes the interior wetter by trapping warm, moist air against cold fabric.
- In cold weather, blocking airflow is the classic mistake: it feels warmer for an hour and produces frost and condensation by morning.
- When three people share a two-person tent, the moisture load roughly doubles — open every vent you have.
If your double-wall tent « performs like a single-wall, » the usual cause is a setup error: the flysheet stretched directly onto the inner canopy, eliminating the air gap that makes the system work. Keep the layers separated.
Staying Warm: Building a Season-Ready Sleep System
Warmth at night comes from insulation between you and the ground far more than from the air around you. The ground is effectively a heat sink, and in winter it extracts body heat relentlessly.
The Modular Approach
Instead of buying one extreme bag, build a modular sleep system that covers roughly 5°C to 25°C:
- A sleeping bag rated around 10°C as your base.
- A removable liner or lightweight quilt added for cold nights.
- An insulated sleeping mat whose R-value matches the season — this is what stops ground cold penetrating your bag from below.
Choosing Between Tent Classes
For year-round camping, the choice narrows to three-season versus four-season tents. Three-season designs prioritise ventilation for warm nights; four-season models use stronger poles, lower profiles and less mesh to handle snow load and winter wind. For most UK-style conditions — stormy autumns, mild winters — a robust three-season tent with excellent pitching technique covers the majority of the year. Transition to dedicated winter gear only when temperatures push reliably below freezing and snow becomes part of the forecast.
Summer Heat: The Ventilation Error
The same airflow logic applies in reverse. Most unbearable summer tents share one flaw: vents closed against an imagined draft. Open mesh doors and low-level vents to let hot air escape — a tent breathes the way a house breathes, and stagnant air is always warmer.
Protecting Your Investment: Equipment Care and Moisture Control
Moisture does not just ruin a night; over time it destroys gear worth hundreds of pounds.
The Drying Discipline
Drying tents and sleeping bags thoroughly after every trip prevents mould growth, which spreads across fabric panels faster than most campers expect. A hidden patch of mould weakens waterproof coatings and fabric fibres. Inspect seams and packed creases before storage, and never pack away a tent that smells of damp.
Storage Mistakes That Cost Real Money
- Compressing sleeping bags long-term: keeping a quality down bag stuffed in its stuff sack can halve its insulating loft. Store it loosely, or hang it.
- Wet peg storage: pegs rust after a single weekend when returned to their bag damp. Dry them before packing.
- Sealed re-proofing: when re-waterproofing a flysheet, avoid coating vent areas — sealed vents recreate the condensation problem you solved with the double-wall design.
Knowing When to Retire Equipment
A tent with visible mould spreading across panels, delaminating coatings or weakened fabric has crossed a safety threshold. Repair small issues early; replace equipment when structural integrity is compromised. A failing flysheet in a storm is not a test of character — it is a hazard.
Your Camping Accommodation Checklist
Everything above condenses into a repeatable routine:
- Scan for overhead hazards and drainage in the first minutes on site.
- Check signal coverage before comfort considerations.
- Pitch early, orient into the wind, set guy lines properly, match pegs to ground.
- Keep the air gap between flysheet and inner, and ventilate all night.
- Insulate from the ground first, then adjust for the season.
- Dry and inspect every item before storing it.
Camping accommodation rewards preparation more than spending. A modest tent, well chosen in location, well pitched in form and well ventilated in use, will outperform expensive gear handled carelessly — night after night, in every season.
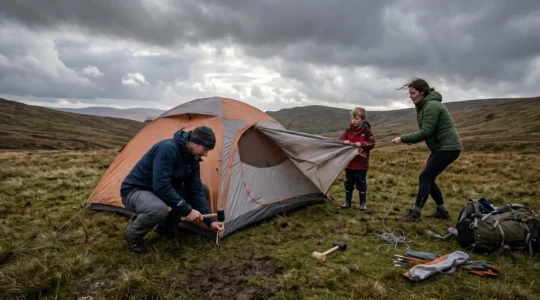
How to Pitch Tents Correctly to Withstand Overnight Wind and Rain?
A tent that stays dry and stable overnight depends on more than waterproof fabric. Its position, pole structure, ground anchors, guylines and ventilation must work together to resist changing wind…
Lire la suite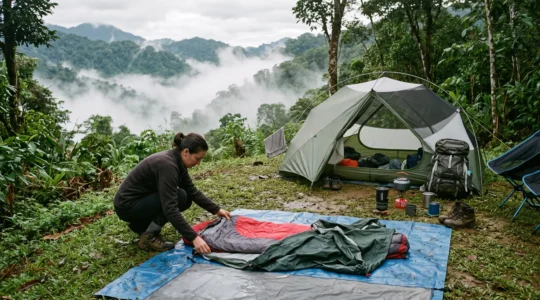
How to Prevent Moisture Accumulation That Destroys Camping Equipment?
Moisture can shorten the useful life of camping equipment long after a trip has ended. A tent that feels dry on its outer surface may still hold condensation beneath its…
Lire la suite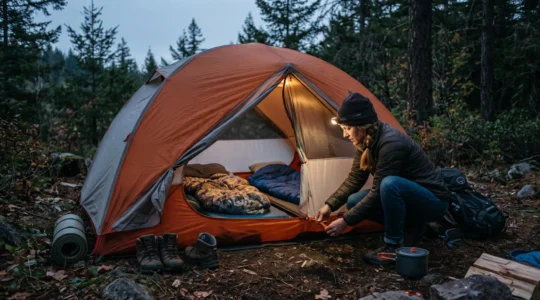
How to Ventilate Tents Correctly to Prevent Headaches and Sleep Disruption?
Waking inside a tent with a headache, damp sleeping bag or restless night’s sleep can raise questions about the air circulating around you. A zipped tent offers protection from wind…
Lire la suite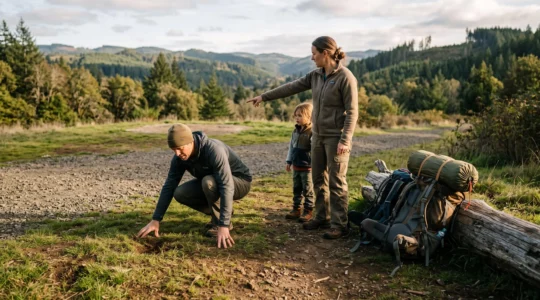
How to Identify a Safe Temporary Campsite in Under 15 Minutes?
A clearing can look ideal at sunset and become dangerous after dark. Water collects in shallow depressions, dead branches fall during gusts, and a sheltered hollow may leave campers without…
Lire la suite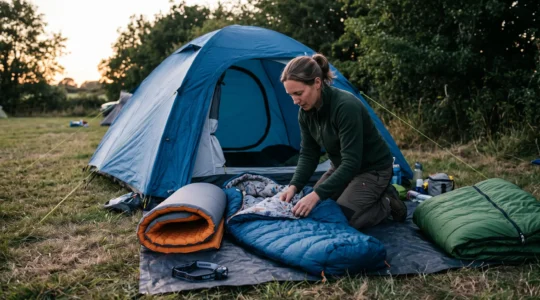
How to Maintain Comfortable Sleeping Temperatures Across All Seasons When Camping?
Comfortable year-round camping depends on controlling heat loss, excess warmth and moisture throughout the night. A sleeping bag alone cannot solve all three problems. Ground insulation, adjustable bedding, tent ventilation…
Lire la suite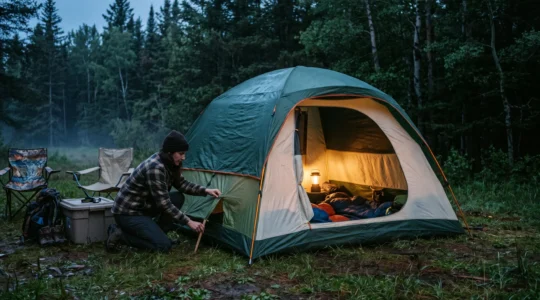
How Double-Wall Tent Systems Prevent Moisture Buildup During Sleep?
A sleeping bag can feel damp after a rain-free night because the moisture originated inside the tent. Breathing, perspiration, wet equipment and humid outdoor air all contribute water vapour. As…
Lire la suite